Connecting to the Rover

Max Gallup
Hardware Lead, Project Administrator
This page provides detailed instructions on how to connect to the rover. There are three supported methods to connect to the rover, each method has its own use case. They are summarized as follows:
- using
roverctl(wireless) - This method is intended to be used when uploading code, starting/stopping the rover and viewing basic logs. - using
SSH(wireless) - This method provides full access to the debix through a remote shell, good for debugging, viewing more advanced logs or performing any kind of advanced setup. - using
UART(cable) - Fallback method for SSH in case there are network connection issues.
The following steps all assume you are familiar with the dangers and have the rover powered on and sitting on a stand.
1. Using roverctl
Make sure you have roverctl installed. Open a terminal window and start roverctl. It will first ask you for your name to separate the code you upload from the code other people might upload on the rover. Next, connect to the rover itself by selecting the connect option and enter the id of your rover (check status display of your rover for the id). If all goes well you are connected and can start using the rest of roverctl's features to upload code and start your first pipeline.
2. Using SSH
Sometimes you will want to have direct control over the rover, which means have access to a command line inside the debix. For this we will use ssh make sure you have this command installed on your host machine. You can use the IP ranges as set up in the ASE labs to SSH into your Rover.
For example, if you want to SSH into Rover 7:
ssh debix@192.168.0.107
After which you just enter the password 'debix' and you are able to run bash commands like normal:
rover07 $ whoami
In this example video we also run the ping command first to see if the rover is even connected to the network (if for whatever reason ssh was not working on the rover).
3. Using UART
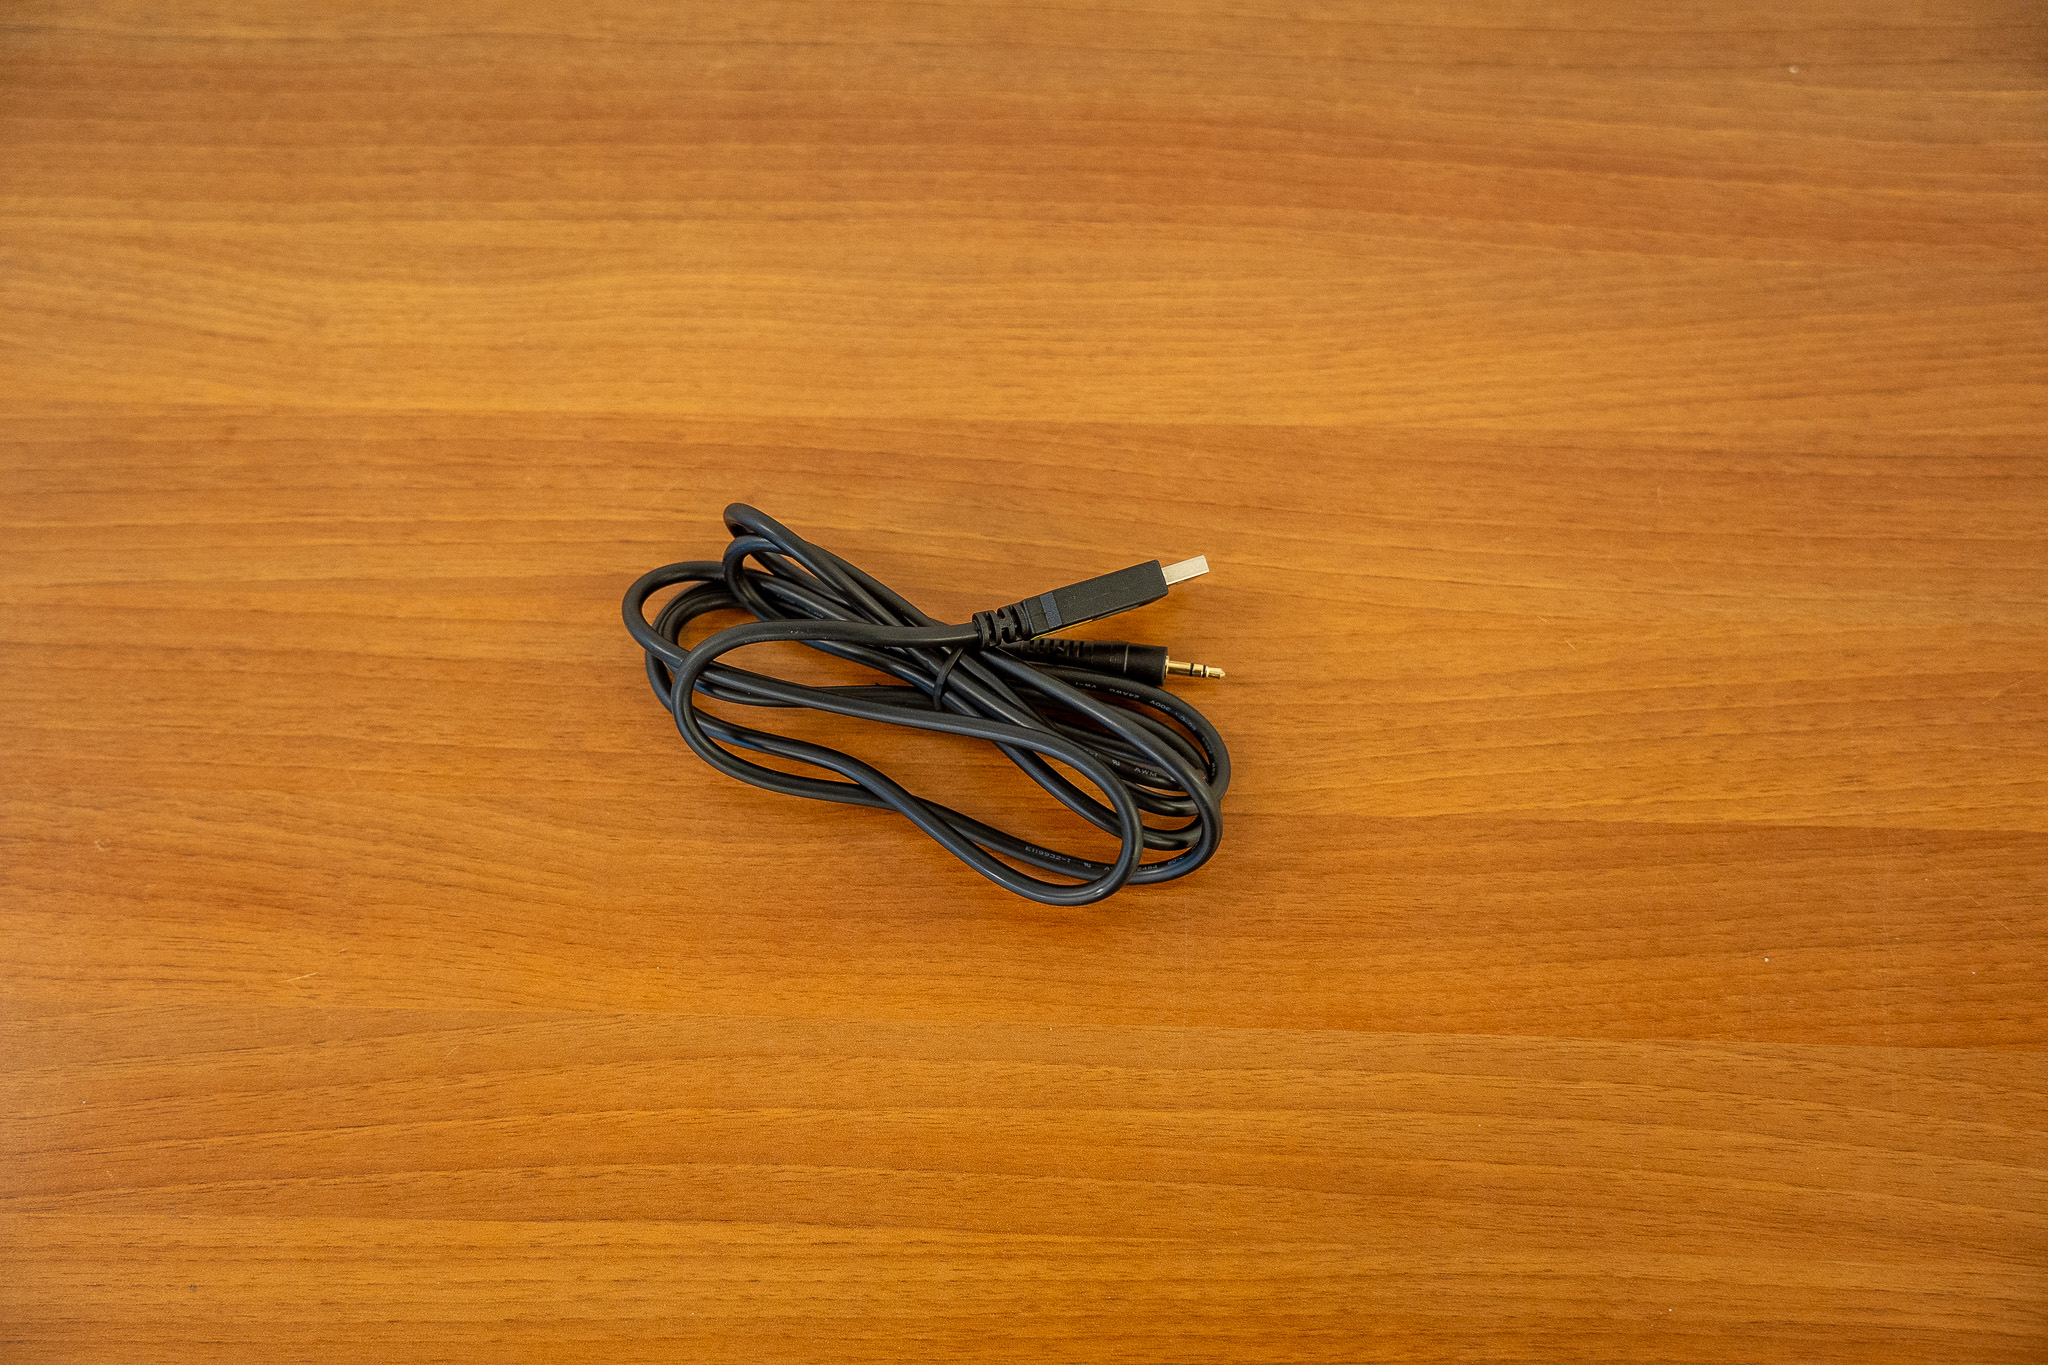
Finally, this method is the 'saving grace' if all other methods fail. The debix offers a serial output connection using the UART protocol which streams characters to a terminal device over a special USB cable. This means we can even see the logs of linux kernel as its booting up. For this we need some additional setup. First, find the special USB-Headphone Jack cables provided in the corner of the aselabs.
We will use the picocom program so that we can see the terminal output command of the UART connection in our own terminal. Install picocom for your platform. If you connect while the rover is booting you should be able to see the output as the debix is booting up. Before we connect the cable we should take note of which USB devices are currently connected to our machine:
ls /dev > /tmp/devices-before.txt
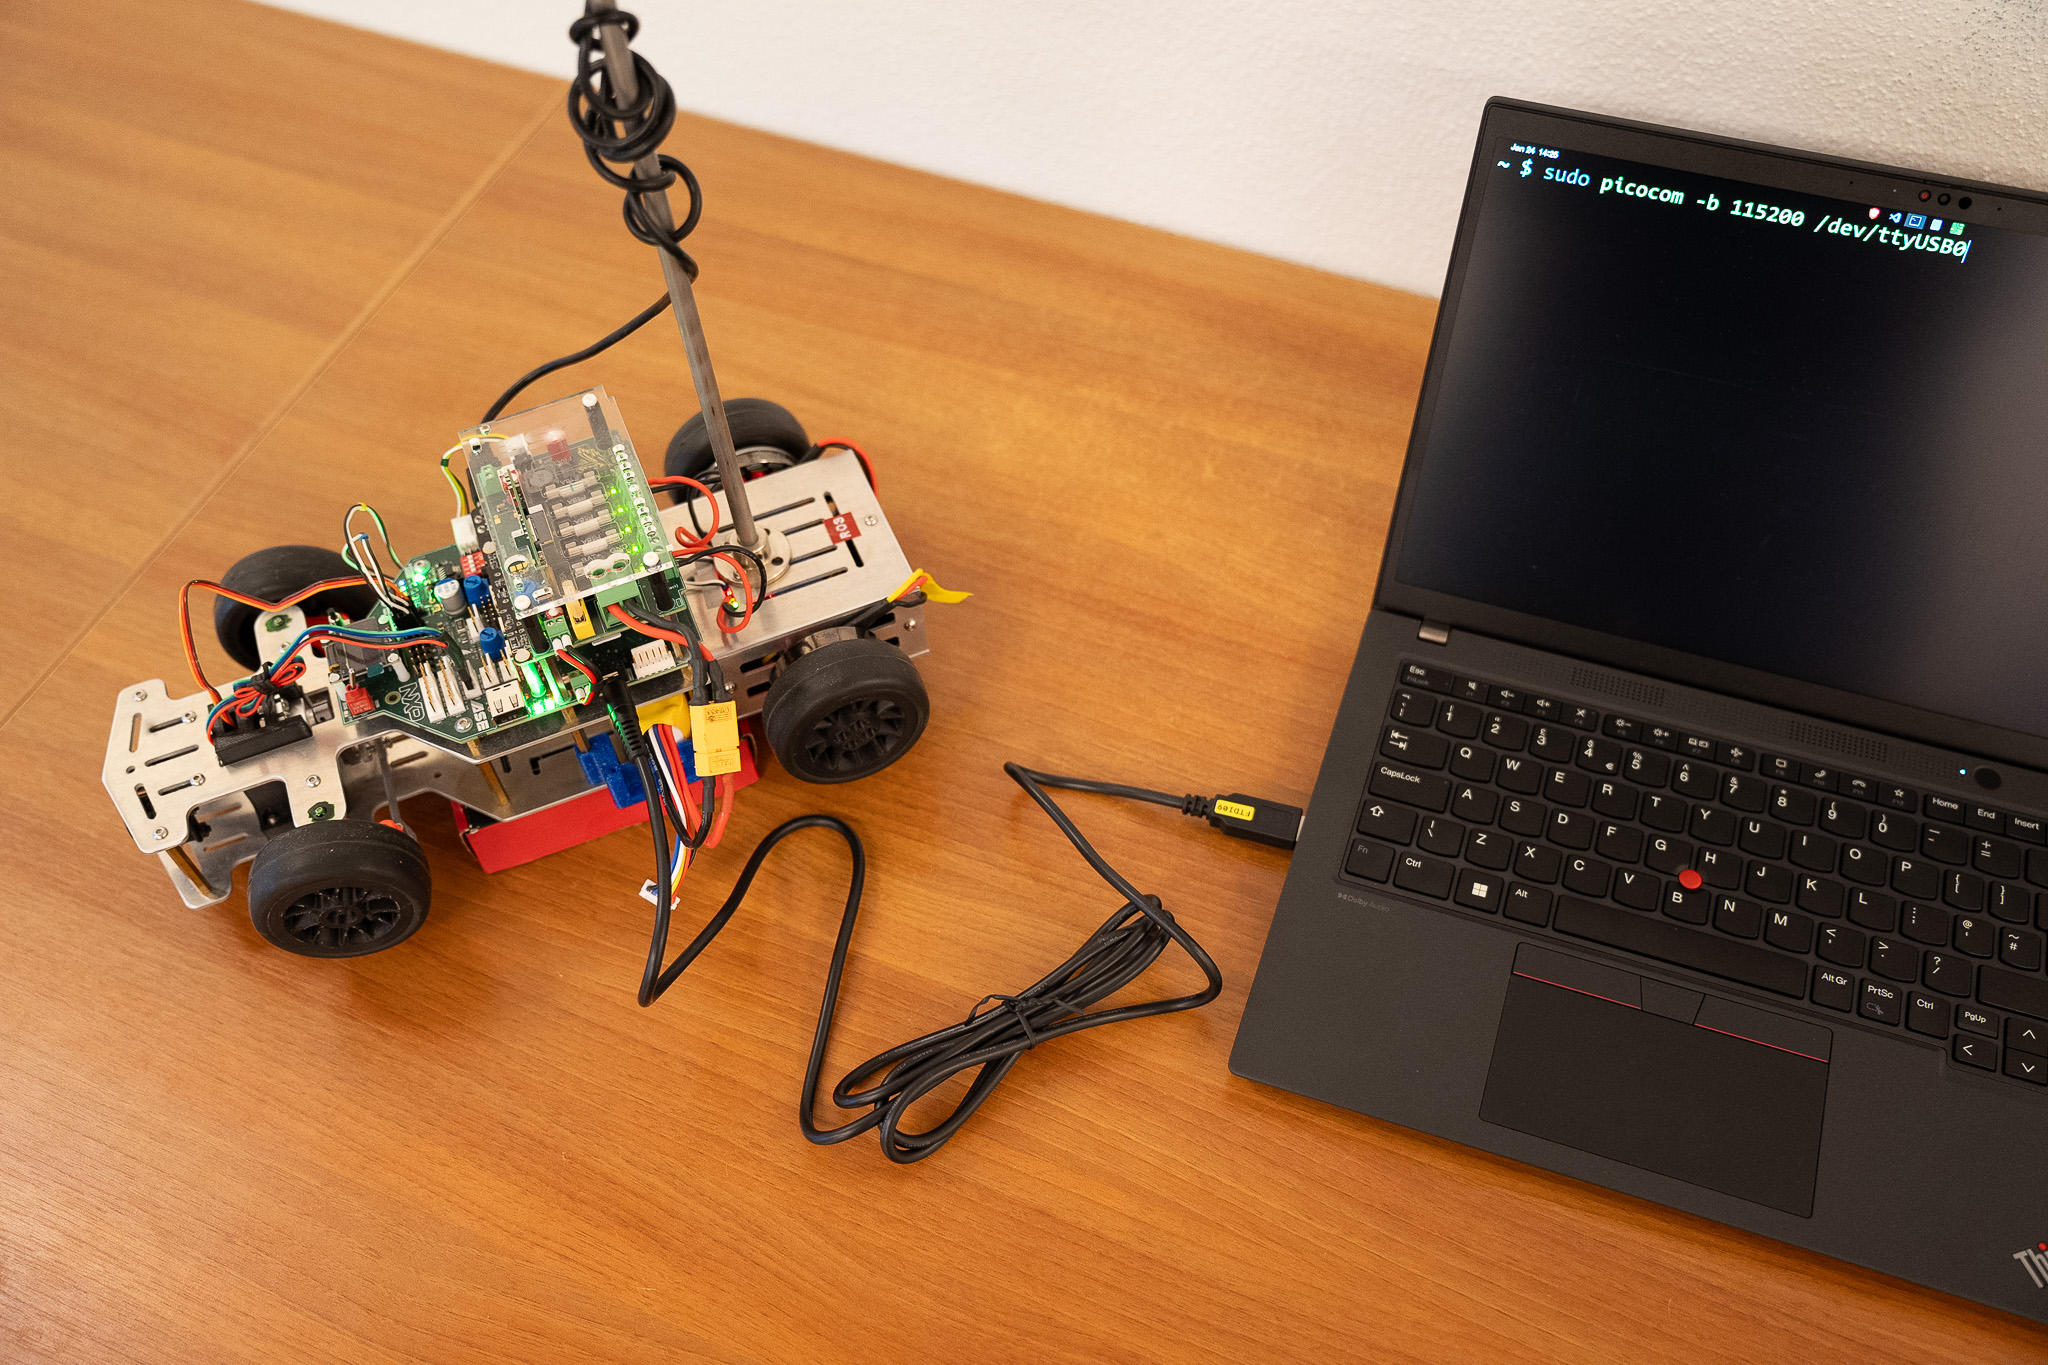
Next, plug in the usb cable to your laptop and the headphone jack into the debix.
Now we want to take note of the device name that our computer made for the special cable that we plugged in and then we want to see what the difference is to see our device's name.
ls /dev > /tmp/devices-after.txt
diff /tmp/devices-before.txt /tmp/devices-after.txt
We should see an output similar to this, indicating that our cable is available at the device ttyUSB0.
~ $ ls /dev > /tmp/devices-after.txt
~ $ diff /tmp/devices-before.txt /tmp/devices-after.txt
25a26
> gpiochip1
67a69
> serial
172a175
> ttyUSB0
Finally, we connect to the ttyUSB0 device using picocom.
sudo picocom -b 115200 /dev/ttyUSB0
Make sure to enter the username "debix" and then the password "debix". Note, that when it might only say "Terminal Ready, but with no "login:" prompt, in this case just start typing the username and hit enter followed by the password. See the video below as an example.